How to photograph your card
Two minutes of setup makes the read on corners, edges, surface and centering much more accurate. Here's what works best.
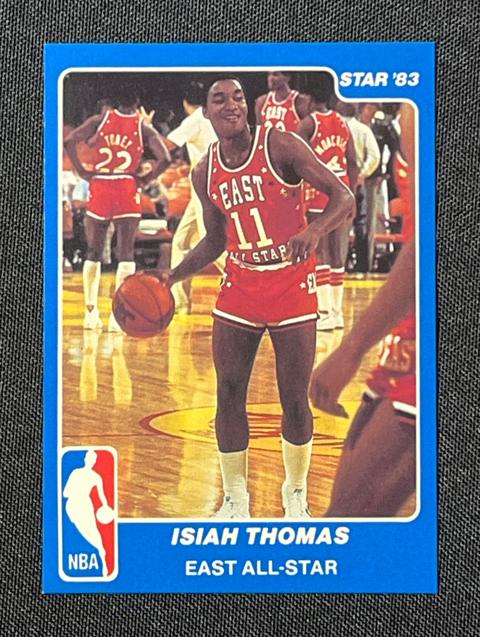
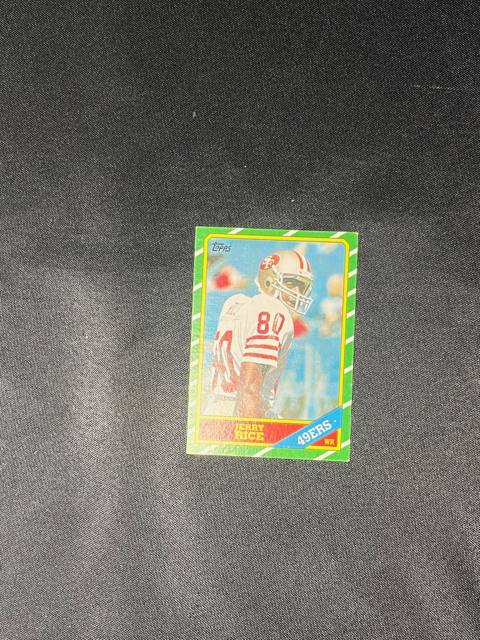
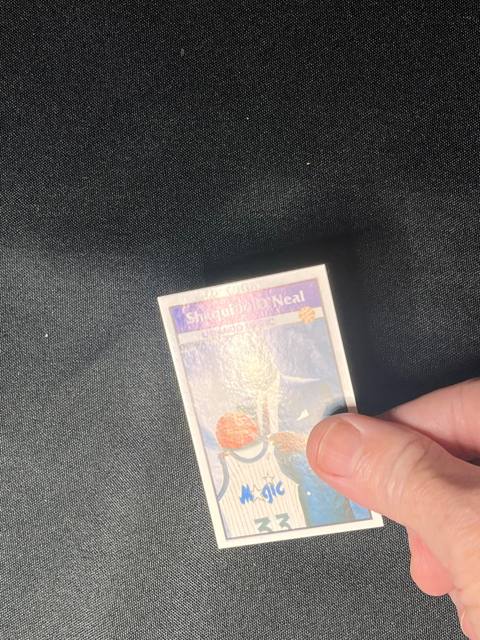
7 keys to great results
- 1Take it out of the sleeve or top loader.Plastic reflects light and hides edges and corners.
- 2Lay it flat on a plain, dark surface.A dark cloth, mouse pad or t-shirt works well. Nothing else in the photo: no packs, slabs or hands.
- 3Fill most of the photo with the card.The card should take up most of the screen, not a quarter of it. Move closer, or use your camera's zoom buttons (2×, 3×, 5×): those switch to a real lens. Avoid pinch-zooming way past them; that just enlarges the picture and blurs the corners.
Using a phone or card stand? Great. Set it up so the card fills the frame using the zoom buttons, and you'll get sharp, square photos every time. - 4Keep the phone parallel to the card.Card flat on a table? Hold the phone flat, right above it. Card in a stand? Hold the phone straight in front of it, parallel to the card. All four edges should look square on your screen; a tilted photo throws off the centering read.
- 5Light from the side, not overhead. No flash.A window or a lamp off to one side is ideal. Ceiling lights straight overhead cause glare.
- 6Check for glare before you shoot.Look at the screen. If part of the card looks washed out or shiny, or you can see the reflection of an overhead light, tilt the phone a little or move the light.
- 7Hold steady and tap to focus.Tap the card on your screen, wait a beat, then take the picture.
Then do the back
Same rules, same spot. The back matters for centering and for spotting stains or writing.
Moving photos to a computer? Keep them full size
Easiest: open slabornot.com on your phone and take the photos right in the app. They're always full size.
If you shoot first and check on a laptop, make sure the photos arrive at full size. A phone photo is about 3 to 5 MB. Email, texting and some sync apps quietly shrink photos to half size or less, especially when you send several at once to stay under an email size limit. The photo still looks sharp on screen, but the corner close-ups lose the detail we need, and you'll see a "this copy of the photo was shrunk" note.
- Email from an iPhone: when Mail asks for a size, pick Actual Size. Send 3 or 4 photos per email instead of 9 so you stay under the limit.
- Texting: avoid it. Texts always shrink photos.
- AirDrop to a Mac: full size by default.
- iCloud, Google Photos or OneDrive: download the original, not a preview or a "small" copy.
- USB cable: copying straight from the phone always gives the full-size file.
- Using a scanner? Great for flat, glare-free images. Scan at 600 dpi (300 dpi is too small for the corner close-ups), on a dark background if your scanner lid allows, and save as JPG or PNG.
Quick check: on the computer, a full-size photo is usually 2 MB or more, and 3,000+ pixels on the long side.
What the app checks for you
As soon as you pick a photo, Slab or Not looks for glare, blur, a card that's too small, a dark photo, or edges it can't find. If something's off you'll see a note with a Retake button. You can always keep the photo, but fixing it usually gives a better answer.
Optional: the size check
For older cards where trimming is a worry, take one extra photo with a modern standard card (any common card) lying right next to yours, touching edges. The app measures your card against it and flags anything that's smaller than it should be.